

Recommendations are independently chosen by Reviewed's editors. Purchases made through the links below may earn us and our publishing partners a commission.
The juice craze is real, people. From hearing about your neighbor’s latest attempt at a juice cleanse to that fancy juice bar opening down the street, juice is popping up everywhere. But it can be expensive—literally, it seems like your only options is to spend $5 on a pre-made juice or shell out $300 for a good juicer.
Juices are loaded with vitamins and minerals as well as detoxifying properties, so it seems a little unfair for those of us on a budget. Thankfully, there's a way to create delicious and nutritious juice using kitchen products you probably already have. It may be more time-consuming (and messier) than a juicer, but you can get homemade juice without taking out a loan. It might just be worth the effort.
Here’s what you’ll need:
- A strong blender
- A spatula
- A fine mesh strainer
- A bowl
- Fruits and veggies for juicing
- A sturdy cutting board
- A good chef’s knife
Step 1: Prepare your produce
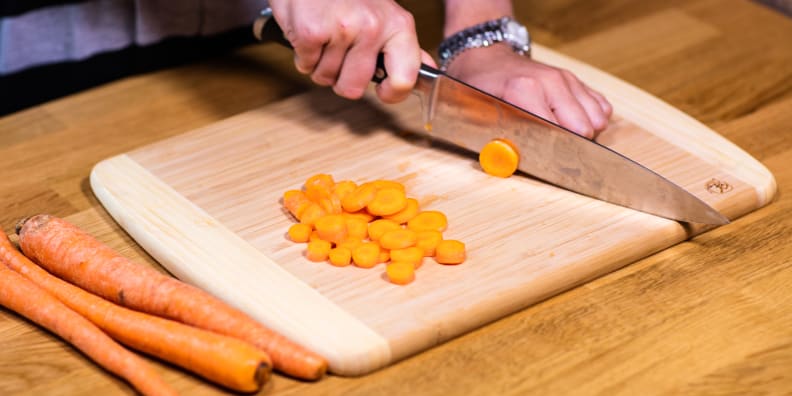
Wash all the fruits and veggies you plan on using and then chop them into chunks using a sharp chef's knife and a cutting board that won't slide around. Make sure you remove and rinds or pits from the produce—you do not want those bitter flavors in your juice (yuck!). Feel free to leave the skin on most other produce including apples, carrots, and beets, as long as you’re sure you got all the dirt off. These are often loaded with nutrients!
Step 2: Blend, baby, blend

Load your ingredients into the blender. To ensure optimal blending, make sure the juicier produce goes in first, like citrus, watermelon, and cucumbers, followed by greens and tougher vegetables. Then get to blending.
Since most juices require tougher produce like beets, carrot, and kale, you might want to use a high-powered blender—like our favorite. If your mixture is very thick, you can add water or lemon juice, or give it a stir to help it along.
Step 3: Strain away
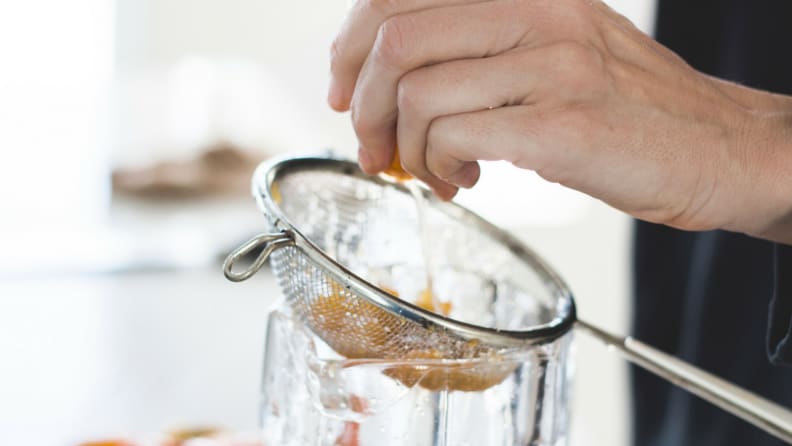
Once the ingredients are blended, it should look more like a watery smoothie than juice. But do not fear, you won't be drinking all of that pulp! You’re going to want to pour the mixture over a mesh strainer set on top of a bowl to strain the liquid. Some of the juice will drip through on its own. You will also want to press the pulp down with a spatula to ensure you get every last drop.
Step 4: Enjoy!
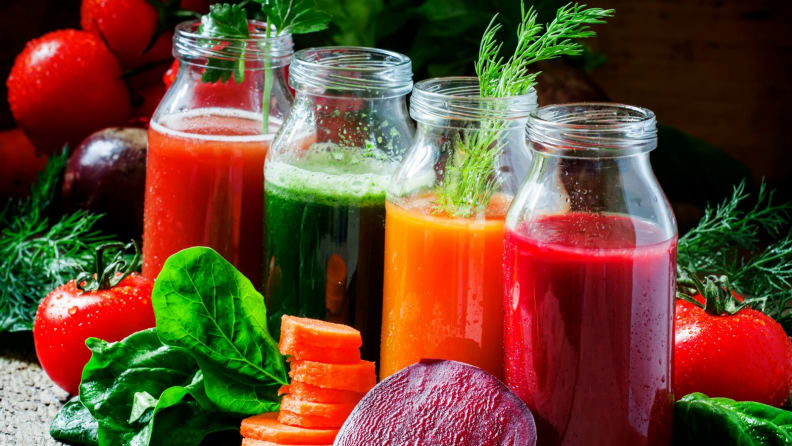
After all that hard work, it’s time to enjoy your labor of love. You can compost the pulp, save it for recipes like vegetable stock, or mix it in with cream cheese for a fun spread.